


Written by Mo Kahn on


The popular advice is to add more detail: pores, individual hair strands, cinematic lighting, and a high-resolution render. That approach often makes an AI character look more artificial, not less. If the jaw is wrong, the eyes sit at inconsistent heights, or the nose changes between images, extra texture only sharpens the evidence that the face has no stable structure.
To create a realistic character, build from the inside out. Lock the underlying proportions, choose one coherent visual language, test the face from multiple angles, and then give the person motives that aren't obvious at first glance. starryai can help with the image-making stage, but believable results depend on decisions made before and after generation.
A realistic character begins with a recognizable structure. Skin pores, hair, fabric, and dramatic lighting are finishing elements. They can't rescue a face whose proportions shift from one output to the next.
A 2026 study published in Scientific Reports recruited 480 university students and found that shape information distributed across the entire face contributes to both identity recognition and expression recognition, with participants highly sensitive to very small changes in facial shape. The findings support a practical rule for creators: preserve the coordinated relationship among the jaw, eyes, nose, mouth, and overall face shape instead of obsessing over one attractive feature. The study's findings on facial shape and recognition are especially useful when a protagonist needs to remain recognizable across expressions, outfits, or poses.
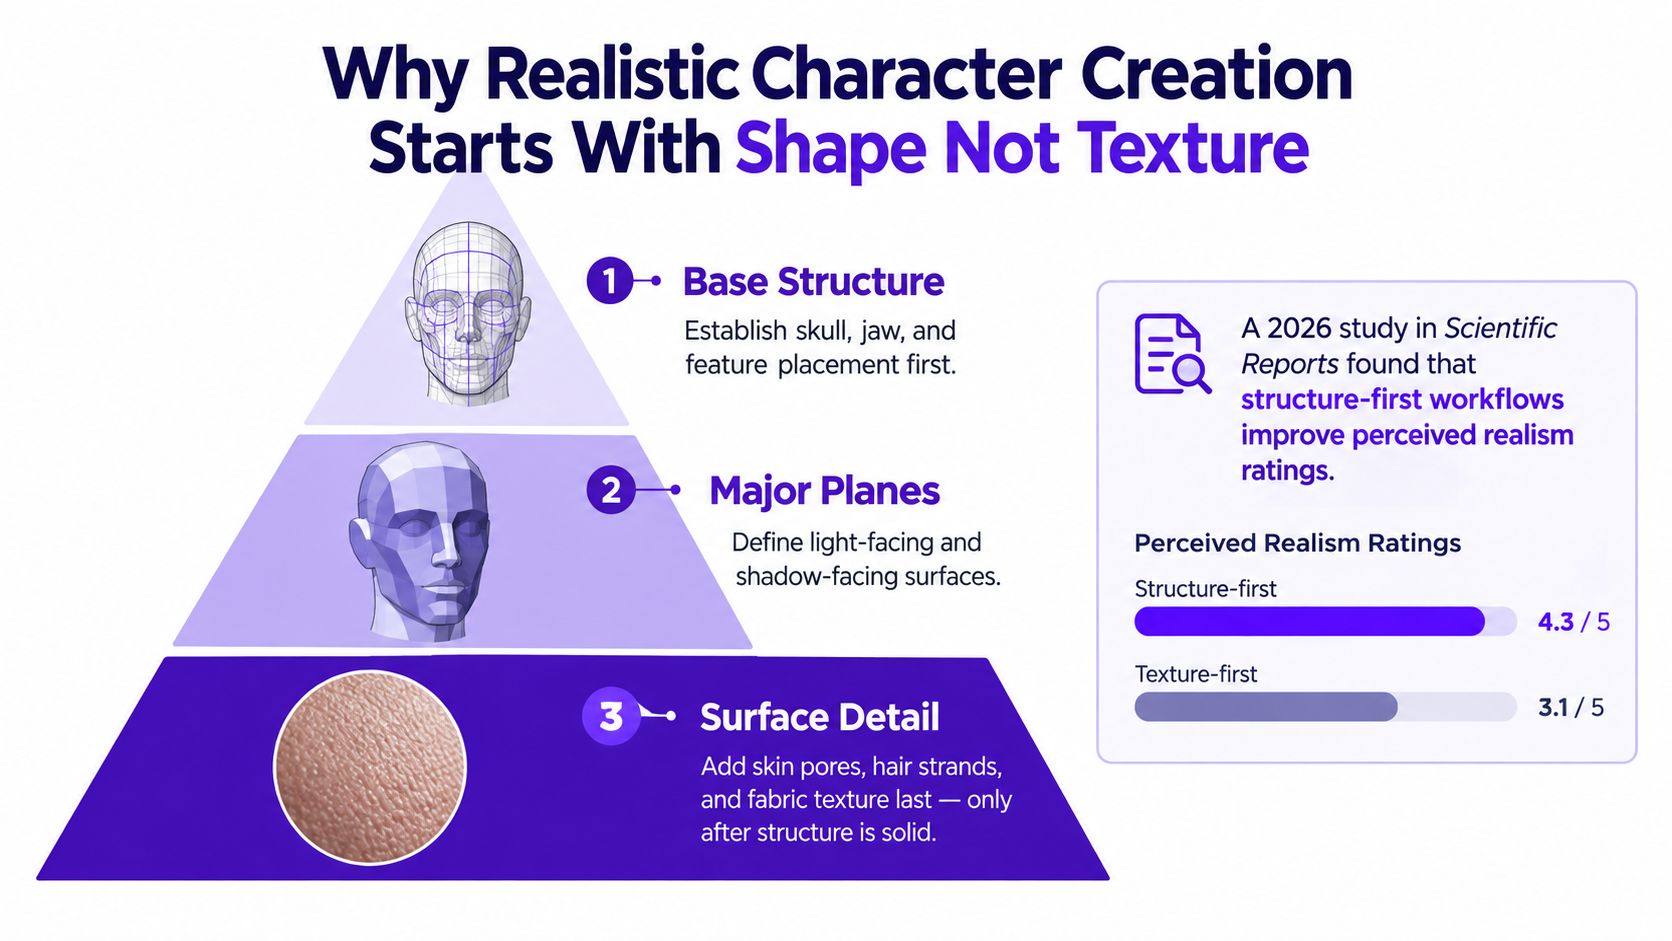
Start with the character's intended age, role, and realism level. A tired adult detective, a teenage fantasy hero, and a polished fashion avatar need different proportions, surface cues, and expressions. If those decisions remain vague, the generator tends to average them into a generic attractive face.
Use a neutral, front-facing head first. Keep the prompt restrained:
Photorealistic adult portrait, neutral expression, front-facing head, anatomically proportionate facial features, natural asymmetry, soft even lighting, plain background.
Don't add elaborate hair, jewelry, action poses, or environmental storytelling yet. First adjust the face aspect ratio, nose length, and distance from each mouth corner to the face edge. Research analyzing 332 three-dimensional characters from internationally successful animated films identified these measurements as important facial-design variables, making them useful checkpoints even when your final style is realistic. The facial-proportion research also supports adding texture only after the structure works.
| Measurement | Purpose | Common Mistake |
|---|---|---|
| Face aspect ratio | Sets the broad identity of the head | Making the face too narrow or wide because the lighting looks flattering |
| Nose length | Anchors the center of the face | Changing the nose while trying to improve realism |
| Mouth-corner distance | Controls lower-face proportion | Letting the mouth drift toward the cheeks or chin |
After the geometry holds, add major planes, then skin texture, hair strands, asymmetry, and fabric. Photorealistic rendering paired with unusual proportions tends to become more disturbing as detail increases, so don't use realism as camouflage for structural errors. For a broader foundation in silhouette, proportion, and character intent, compare this workflow with a practical character design guide.
Text-only prompts are useful for inventing a person, but they're unreliable when you need the same person repeatedly. Descriptions such as “young woman with brown eyes and an oval face” leave too much room for the generator to reinterpret eye spacing, jaw width, hairline, and nose shape.
A neutral selfie gives the process an identity anchor. Choose a front-facing image with even lighting, a relaxed expression, and minimal filters. Avoid sunglasses, dramatic perspective, heavy makeup, and a hand covering part of the face. The goal isn't to copy every pixel. It's to give the Edit tool a stable reference for the features that should survive the transformation.

Upload the selfie and describe the intended transformation in terms of identity plus controlled change. For example:
Preserve the subject's eye spacing, nose length, jaw shape, and hairline. Transform the styling into a realistic historical-fantasy ranger, practical weathered clothing, natural skin texture, restrained makeup, believable adult proportions, three-quarter portrait, soft overcast light.
That wording does two jobs. It tells the generator what must remain stable, and it separates those invariants from costume, lighting, and setting. If the output looks like a generic beauty portrait, reduce appearance language such as “flawless” or “perfect face” and repeat the structural anchors instead.
Generate variations rather than treating the first attractive result as final. Compare them side by side, looking first at the eyes, nose, jaw, hairline, and mouth. A beautiful image that changes the underlying face isn't a successful identity transformation. It may work as a one-off portrait, but it will fail when the character appears in another scene or outfit.
Use the same reference and identity wording when you need a recurring protagonist, social avatar, or RPG persona. Then allow expression and styling to change deliberately. A smile can alter the cheeks and mouth, but it shouldn't move the eyes closer together or turn a broad jaw into a pointed one.
For a focused workflow built around personal references, see this guide to generating an AI image of yourself.
When the face is stable, test the same identity under a different emotional direction rather than piling on more descriptive adjectives:
A useful prompt contrast is “suspicious, lips held closed, eyes tracking someone outside the frame” instead of “mysterious expression.” Specific behavior produces more controllable variation while leaving the facial structure intact.
The uncanny valley isn't a warning against realism. It's a warning against inconsistency at the boundary between artificial and human appearance. A face can contain realistic pores and believable lighting, yet still feel wrong because the eyes, expression, skin, or proportions belong to different visual systems.
Japanese roboticist Masahiro Mori introduced the uncanny valley concept in 1970, and academic investigations beginning around 2005 supported its existence, particularly toward realistic robot figures with subtly unnatural qualities. This historical overview of the uncanny valley helps explain why a clearly stylized character can feel comfortable while an almost-human one creates unease.
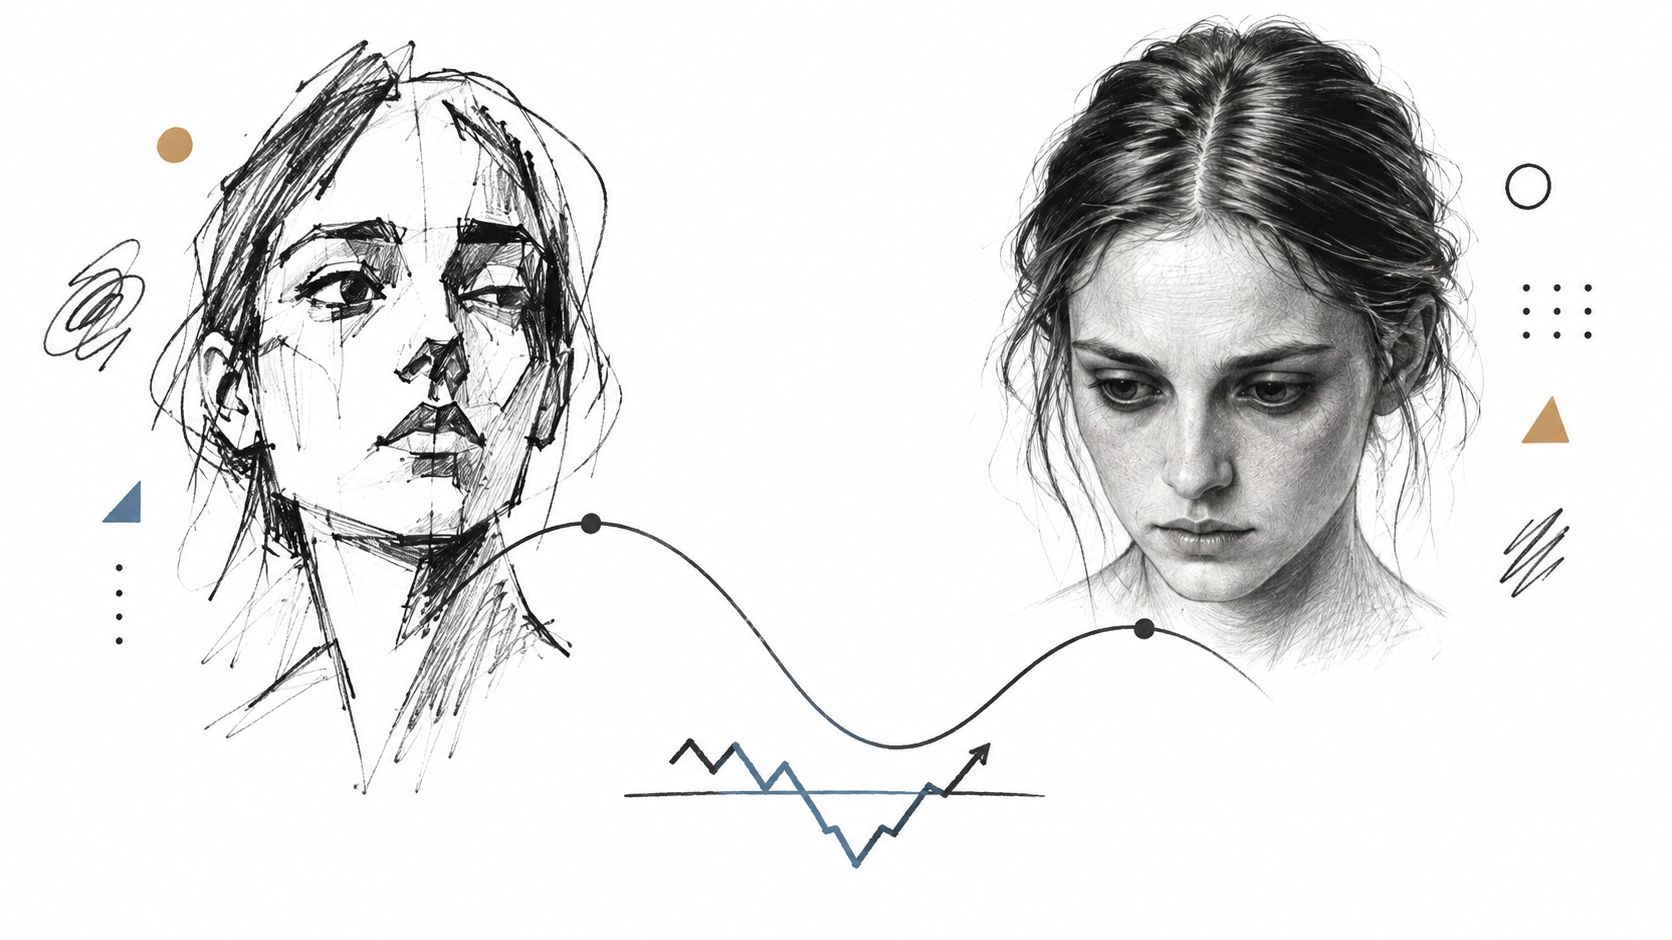
Decide whether the character is stylized, semi-realistic, or photorealistic before refining the prompt. Each mode can work. The failure comes from mixing instructions that pull in opposite directions.
“Photorealistic adult portrait with anatomically proportionate features” is coherent. “Ultra-realistic face, oversized eyes, tiny nose, porcelain skin, exaggerated anime proportions” is also possible, but it describes deliberate stylization, not an ordinary human portrait. If the result looks unsettling, remove the contradictions rather than adding more detail.
Check the following mismatches:
A useful reference point is a professional headshot gallery, where lighting, facial angles, expression, and styling work together rather than competing for attention. Study the agreement among those elements, not just the sharpness of the final image.
Practical rule: Detail should reinforce the character's chosen visual language. It shouldn't argue with it.
A single attractive portrait can hide a weak character model. The genuine test begins when you ask for a front view, a three-quarter view, and a profile, then compare them without being distracted by costume or background.
Keep a small identity sheet beside the prompts. Record the eye spacing, nose length, jaw shape, hairline, scars, and distinctive accessories. These are your anchors. If an accessory changes, the face should still identify the person. If the hairstyle changes, the jaw and eye placement should remain credible.
Research involving 365 participants found that realism judgments are affected by consistency, while a separate virtual-agent study with 107 participants found that coherent combinations of realism improved perceived credibility and attractiveness. Mismatched realism reduced those perceptions. The consistency research supports evaluating the whole character system, not selecting the prettiest isolated image.
Generate the views with matching identity language and comparable lighting. Then inspect them at full size and thumbnail size.
| Check | Pass condition | Fail condition |
|---|---|---|
| Facial proportions | Jaw, eyes, nose, and mouth retain their relationship | The profile reveals a different nose or chin |
| Texture | Skin detail belongs to the same realism level | Eyes are hyper-detailed while skin is waxy |
| Lighting | Light direction supports the form | Highlights move unpredictably between views |
| Age cues | The character reads as the same age | Facial maturity changes with the outfit |
| Expression | Emotion changes without reshaping identity | Every smile produces a new person |
Reject weak outputs early. Saving a visually impressive image because it has excellent hair or lighting usually creates more work later, especially when you need a book cover, merchandise line, or social avatar set.
Create a contact sheet of 8–12 candidates and view it at thumbnail size. The specified range matters because it gives you enough variation to compare identity without turning the review into an unmanageable archive. Fine texture and exaggerated eyes that seem acceptable when enlarged can look artificial in a feed or on printed merchandise.
For a repeatable production workflow, use this character-consistency guide as a companion to the pass or fail checks above. The strongest hero image is the one that survives comparison, not necessarily the one that wins on first glance.
A character can have accurate facial anatomy and still feel fake. Visual realism answers what the person looks like. Believable characterization also requires decisions, private motives, incomplete self-knowledge, and behavior that changes with social pressure.
Research using the CASPER framework found that AI-generated characters tend to rely more heavily on familiar archetypes and tidy resolutions while lacking mystery. A 2026 design study found that dialogue contributed more to perceived character credibility than images. The discussion of narrative character realism points to a gap in image-first tutorials: a convincing face can't compensate for a predictable person.
Keep the document short enough to use while generating scenes. Include:
For example, an ambitious archivist may publicly protect historical truth while removing evidence of a family scandal. In a formal interview, she speaks precisely and avoids eye contact. With a younger sibling, she becomes playful but controlling. Those differences make the character feel observed rather than assembled from a single label such as “intelligent and mysterious.”
Write short exchanges that force the character to choose between the public goal and private motive. Ask what they say when they are praised, accused, ignored, or offered the thing they claim not to want. If every answer sounds equally witty, brave, or emotionally transparent, the character is still operating as an archetype.
Use image prompts that reflect the scene without spelling out the entire emotion:
Realistic adult archivist at a crowded family dinner, carefully composed posture, thumb pressing against a hidden ring, listening to a conversation about a missing document, polite expression with restrained irritation, natural indoor light.
The visual tell gives the image a small contradiction. The face remains consistent, but the scene suggests information the character isn't sharing. That is where psychological surprise can live without changing the identity anchors or making the story incoherent.
Pair every major visual variation with a behavioral reason. A different coat might signal status, weather, or concealment. A new expression should arise from what just happened, not from a random request for “more emotion.” Realistic character creation works best when structure, style, continuity, and inner conflict support the same person.
Use starryai to turn selfies, text prompts, and emojis into character visuals, then refine the results with proportion checks, identity anchors, and behavior-driven scene prompts. Visit starryai to start building a realistic character that remains recognizable on the page, in a social feed, or across a complete visual series.


.svg)