
Written by Mo Kahn on
March 28, 2025


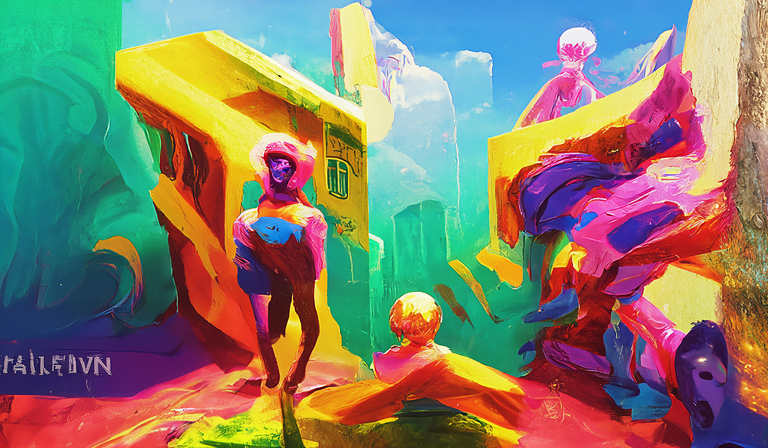
Using starryai, an ai generator app, is easy... or it will be once you’re done with this tutorial ;)
Our goal with starryai has always been to make AI Art generation as easy as possible for creators. Thus, our hope is once you get acquainted with the workflow of the ai art generating app, it becomes a seamless, stress-free journey for you to render beautiful creations.
To get started, you have two AI engines to work with:
If you’re not familiar with these two ai art generating engines, we suggest reading our article what is starryai.
starryai is offered as a mobile app for iOS and Android, as well as, a web tool.
This tutorial we will explore using both of our AI engines individually to help you get acquainted with them in no time.
Regardless of the AI engine you use, you'll need the follow universal ingredients to generate an artwork successfully:
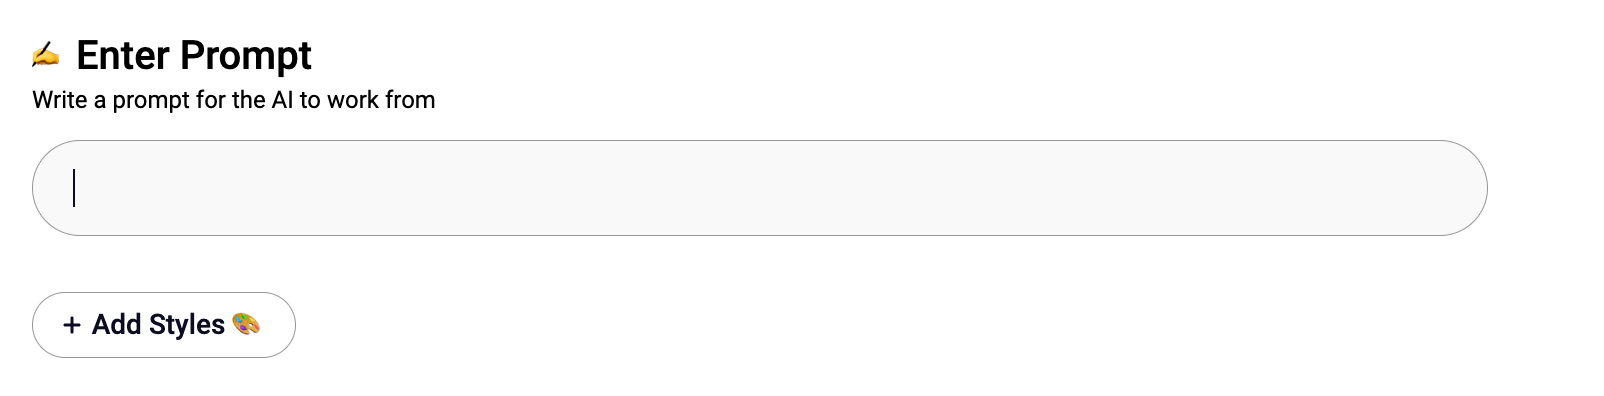
The first step is to consider the AI art prompt. When entering the prompt, think of how you’d describe the image to the AI. This can be as abstract or literal as you wish. Alternatively, if you’re feeling lucky you can use the auto-prompt generator (mobile only) to enter a random prompt to work with.
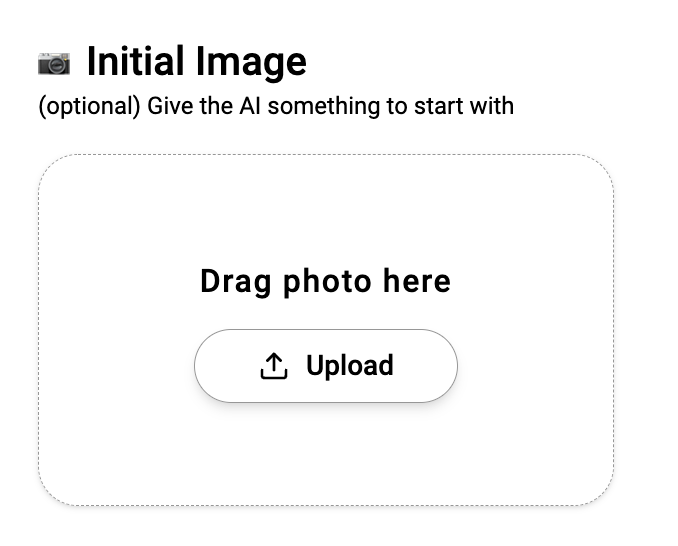
If you're looking for a specific outcome, you can feed the AI engine of your choosing an initial image to work with. This gives the AI a starting canvas regarding what shapes to start with. This is optional but highly recommended for best end results if what you have in your vision is very specific.
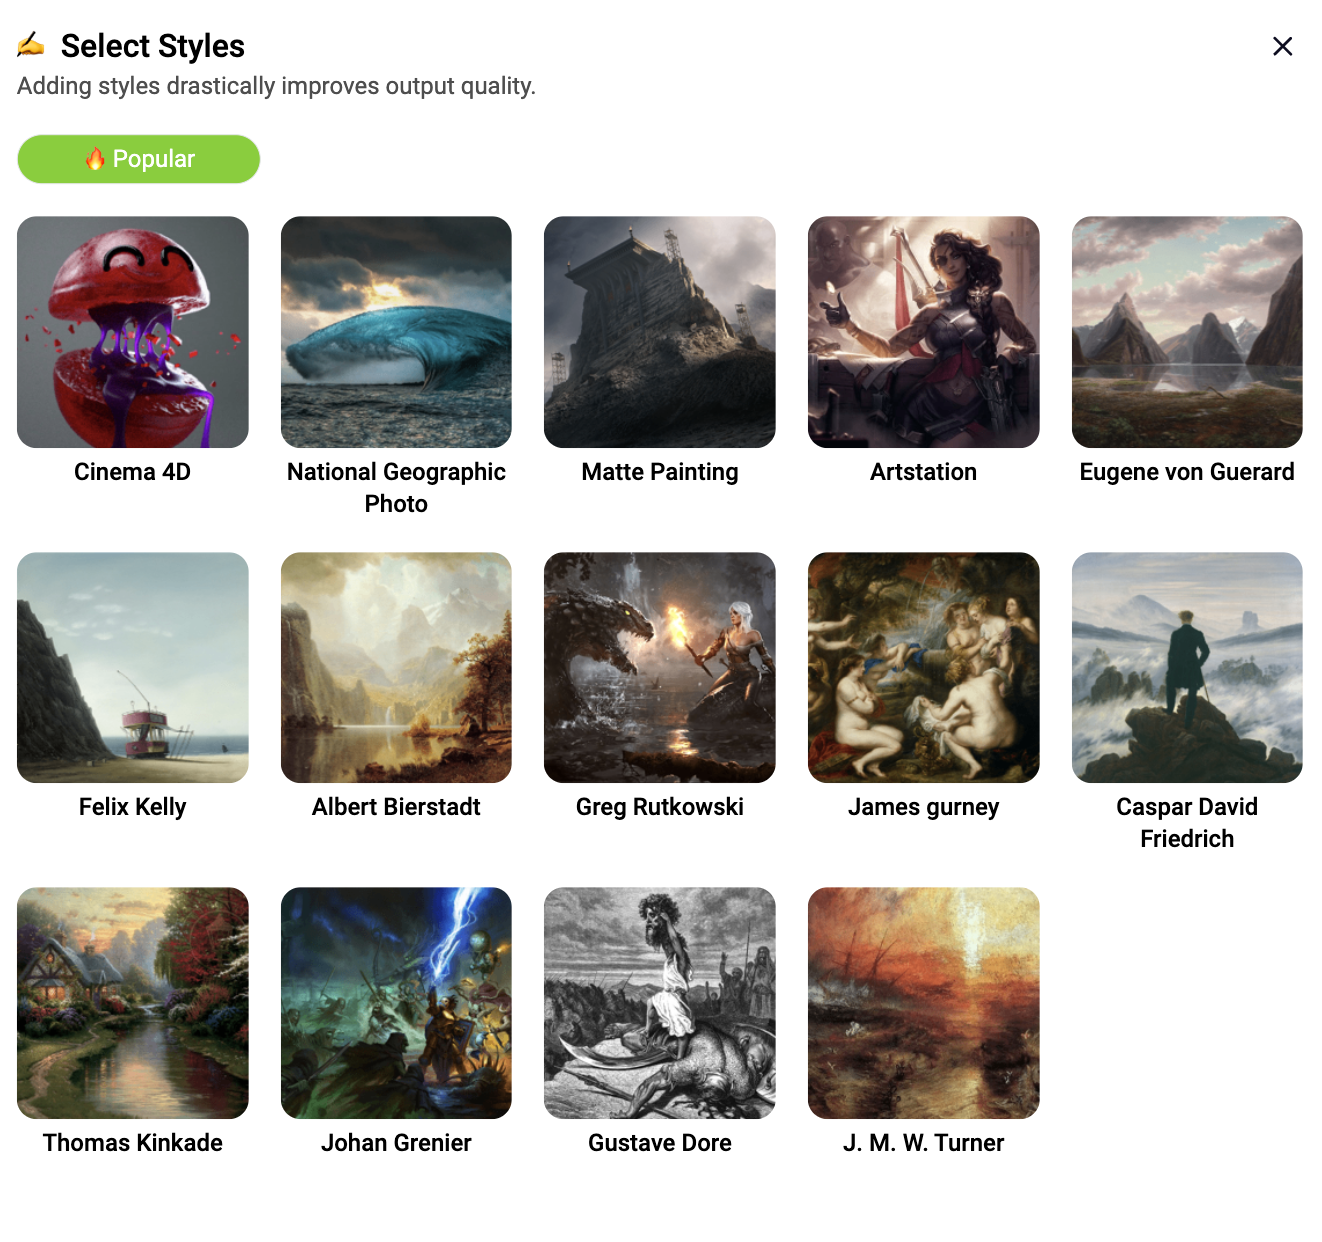
Once you’ve entered your prompt, based on what you’d like the AI to work with, it is now time to consider the Styles.
Styles are a great way to ensure that the artwork generated aligns with your own artistic style and intentions. You can mix and match styles to render unique AI styles & aesthetic. Each AI has its own collection of styles which we will explore respectfully later on in the guide.
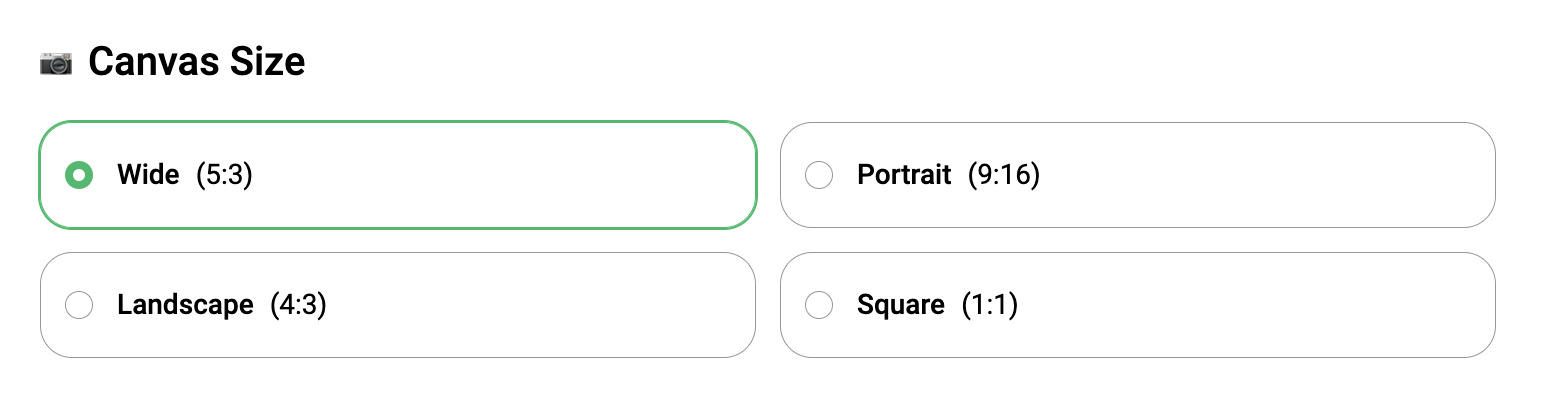
Next, you’ll need to select the canvas size. We suggest considering the end-goal of the image. If you’re considering to create social media assets and share your ai art on Instagram, then Portrait or Square works best. If you’re intending to produce a series of ai art wallpapers then Wide would be your best option.
Before you hit the "Create" button, you'll need to set the Runtime for your artwork. Runtime essentially dictates how many iterations the AI needs to run. The more iterations it renders, the more cohesive & detailed the artwork is going to be. Based on your intentions for your art, set a runtime that best fits the criteria.

Aaaand you're done!
It is now time to hit the "Create" button, sit back, relax and let AI do the work!

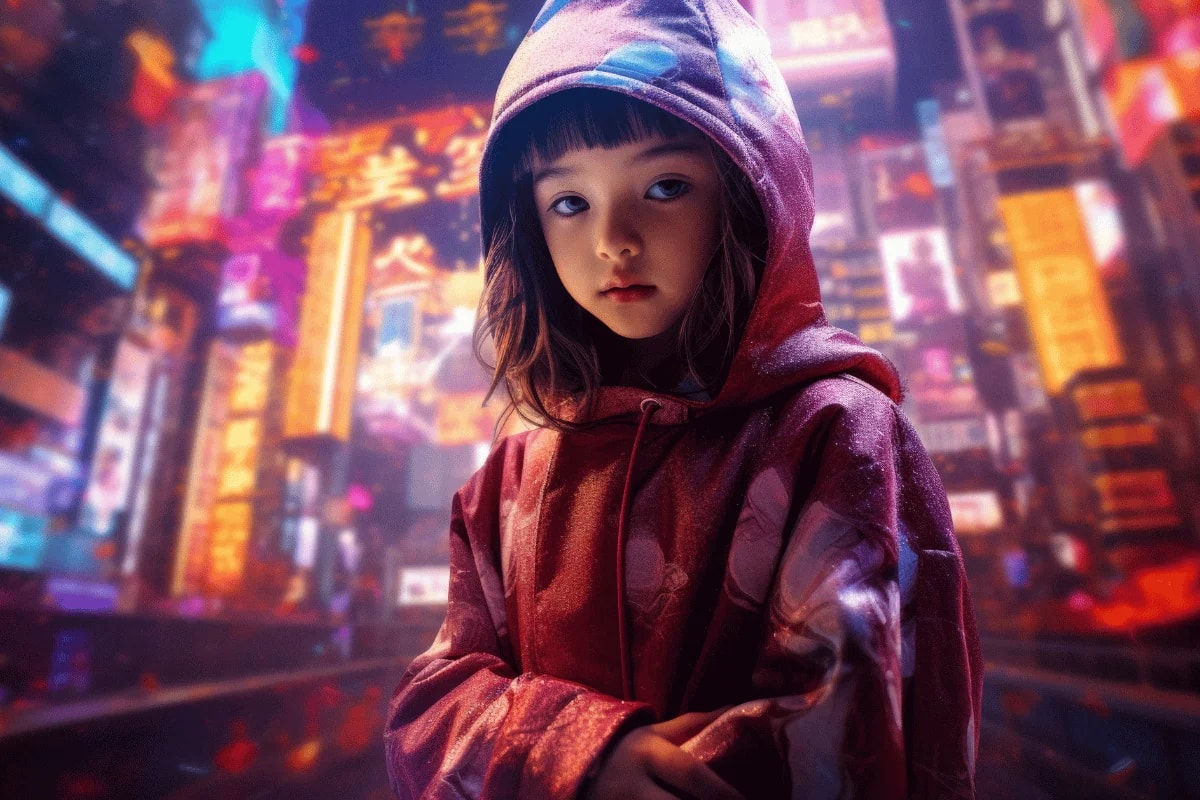
Altair produces dream-like images that are more abstract ai art renders, therefore, if you’re considering to create more whimsical ai artworks, we suggest you try this AI.
To use Altair, all you need to do is tap or click on the Altair icon and simply start typing your prompt for the AI to work with.
The really cool thing about Altair is the wide variety of styles for you to choose from to help guide the AI to create the render in the intended aesthetic.
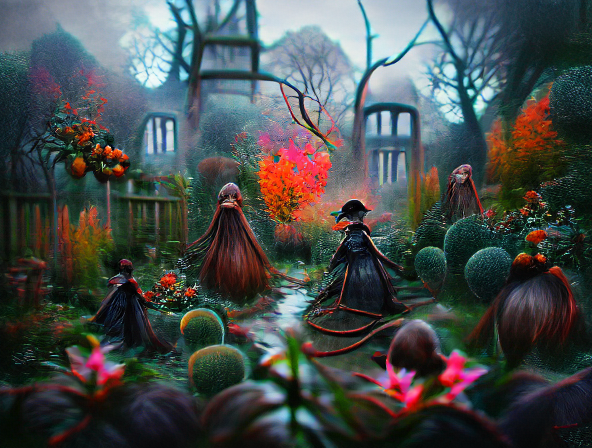
You can also add multiple prompts, as well as, styles while giving specific prompts a number for the AI to know what weight should that particular prompt have to help create the artwork to match, as close as possible, to your intention. It is a really neat way to fine tune what elements appear more, or less, in the end, in your image. Do you want your witch’s garden to be in a cool spring breeze or are you looking for something with autumn vibes? You have the ability to decide it all!
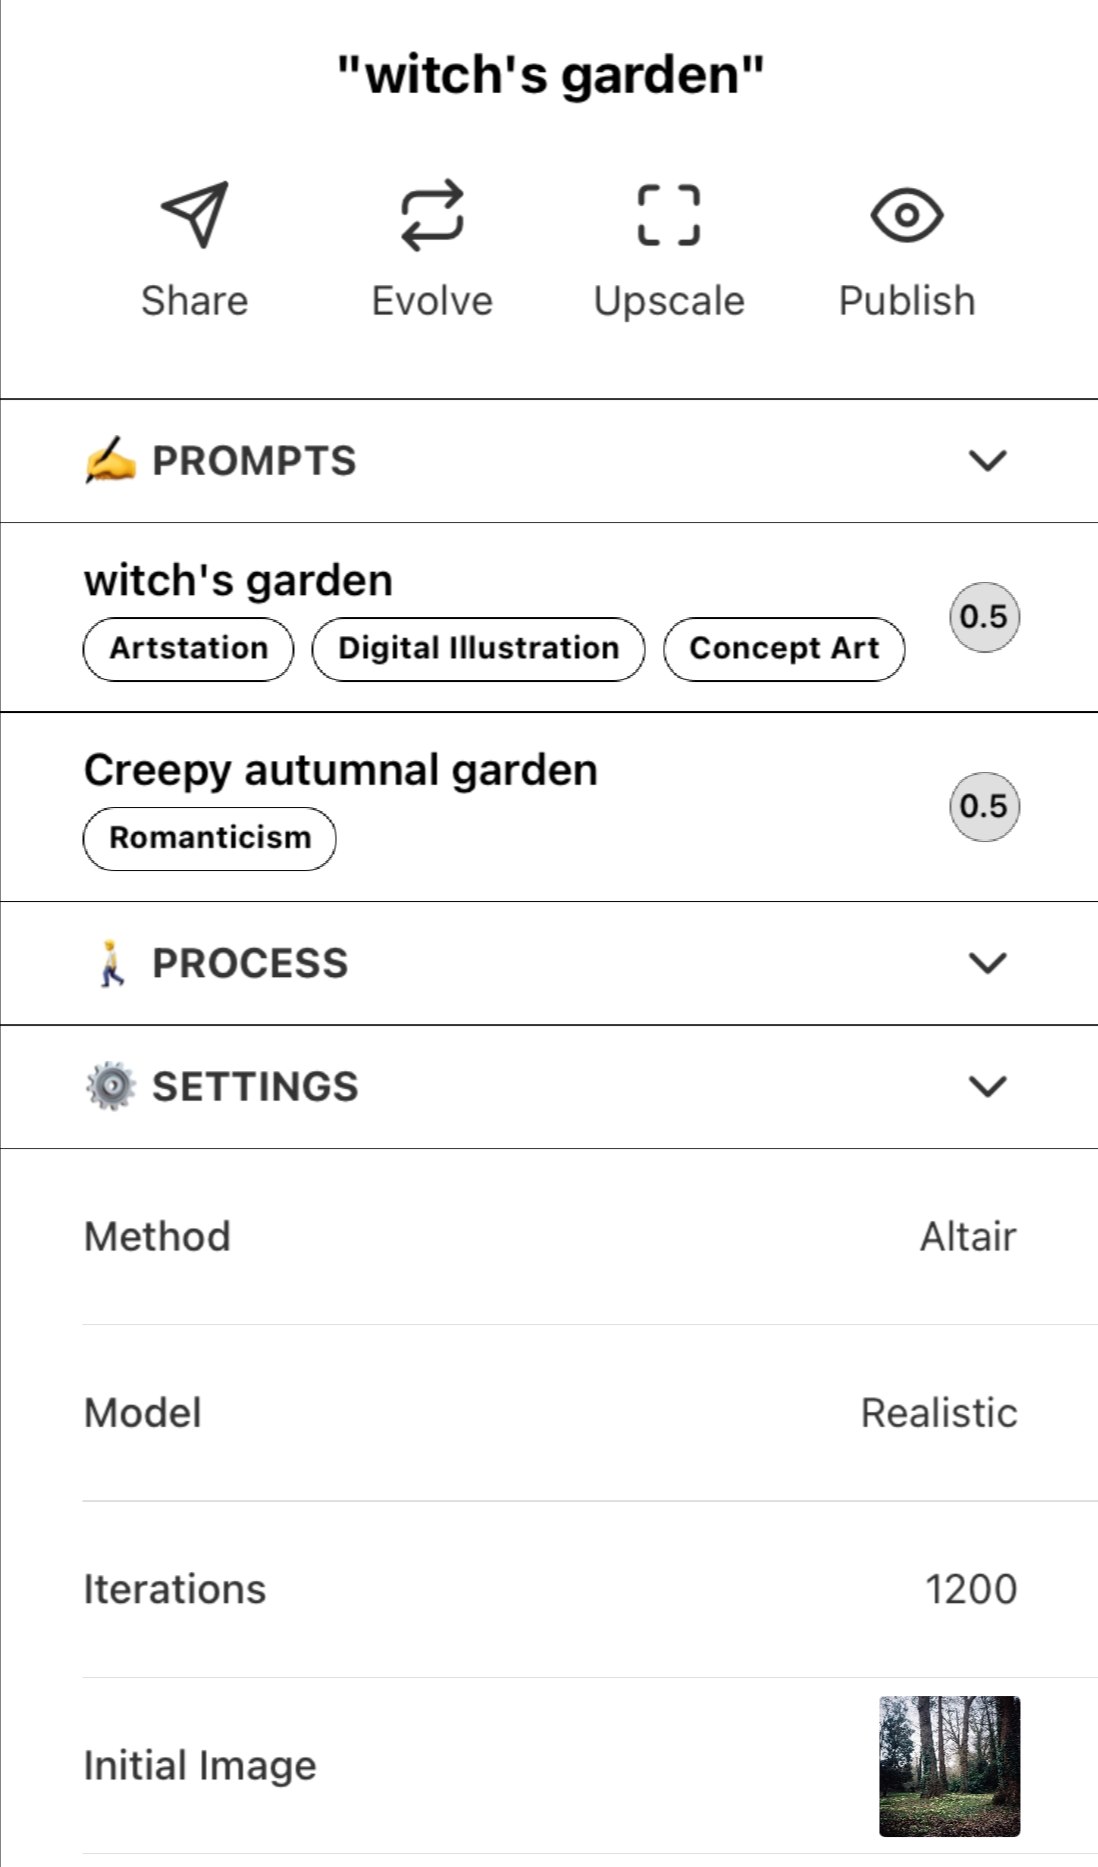
In addition, you can feed Altair an initial image to work with, if you're seeking a specific outcome of your creation.
Last but not least, you can play with runtime and the model. The longer the runtime the more the AI will try to perfect your image. As for the model, if you are just starting out, you might prefer the results of the artistic one over realistic, however, the realistic model is the one our community members have been favoring more so since the start.
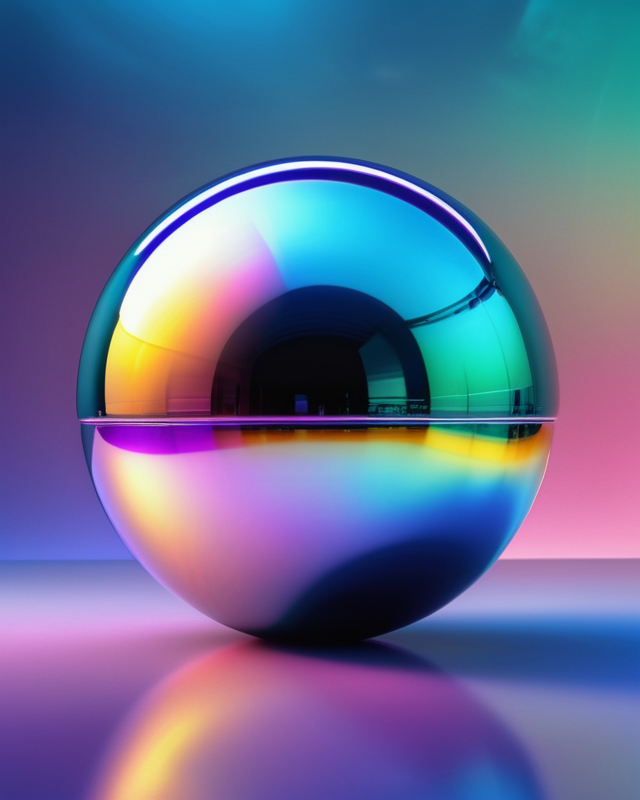
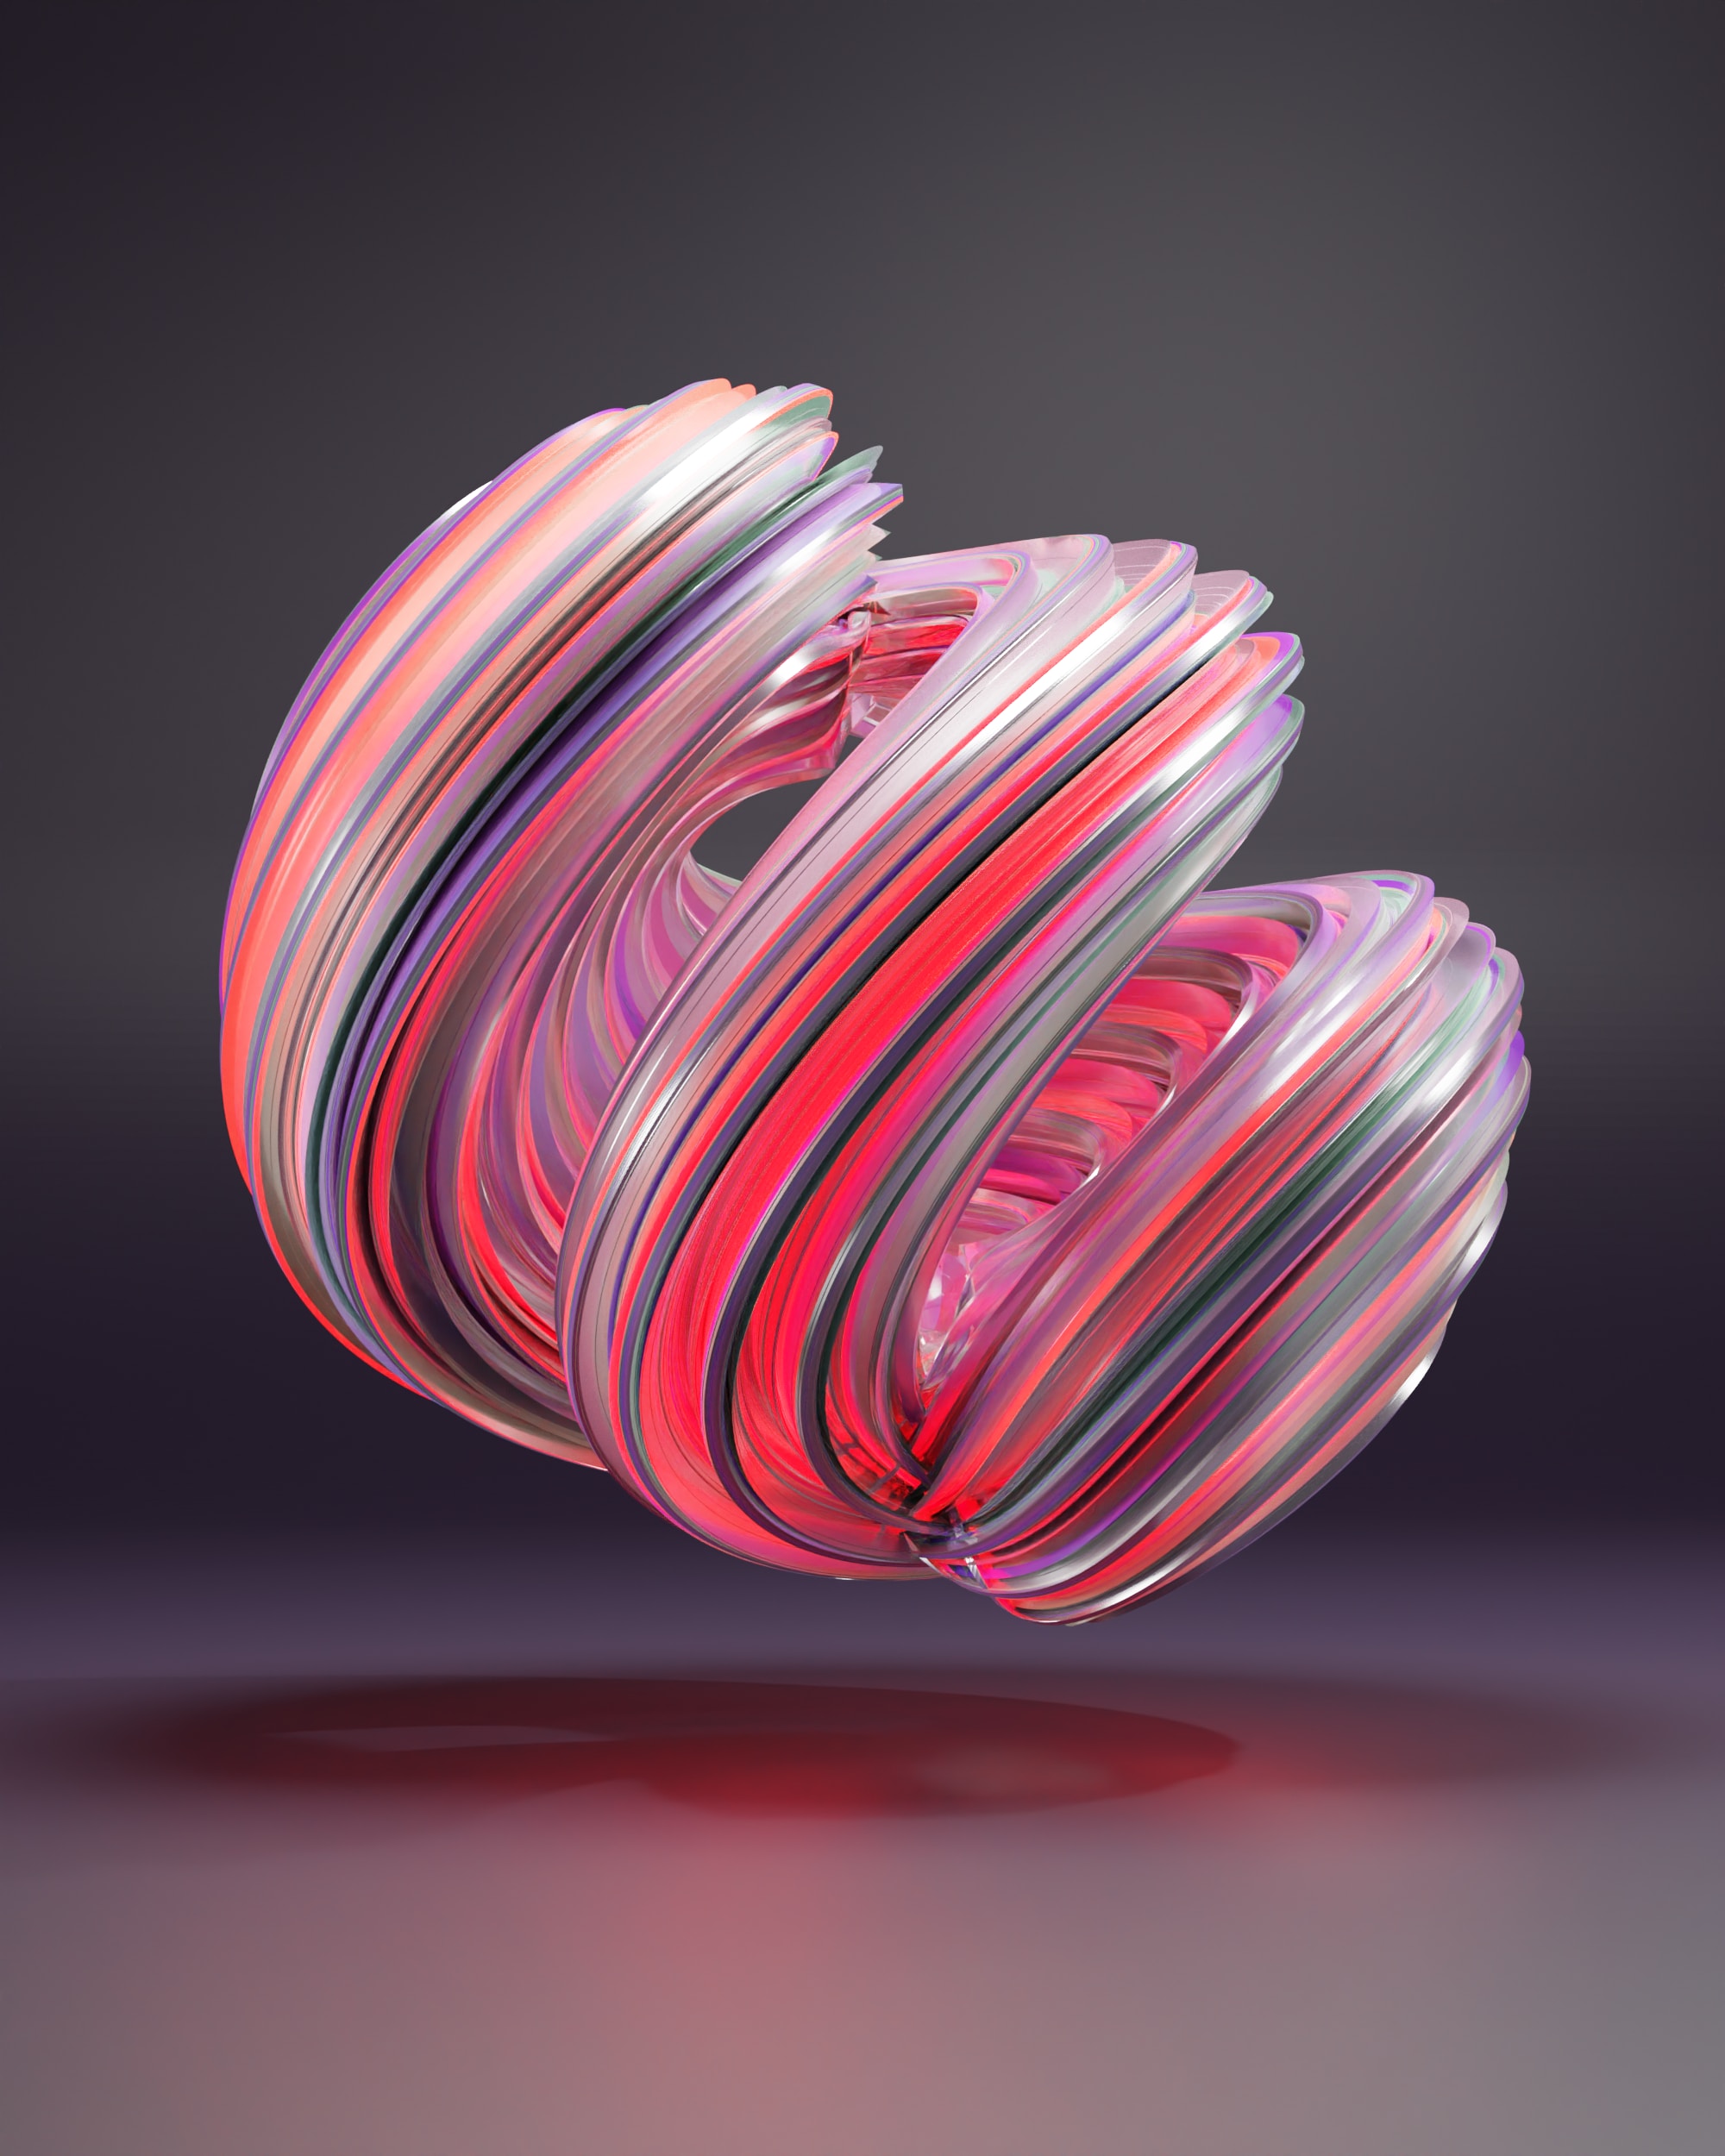
Orion produces more cohesive & reality-bending ai art renders. Therefore, if you’re considering to create more hyper elaborate & cinematic ai artworks, we suggest to use this AI for your work.

To get started, much like Altair, you have the option of using a blank canvas or an initial image to get started on your ai art. This, again, is completely optional.
The first step is to enter the text prompt.
We suggest experimenting with your prompts as much as you can to render artworks that match your intentions. After all, art is an act of discovery more than it is of creation.
Once you’ve entered your prompt, based on what you’d like the AI to work with, it is now time to consider the Styles.
There are a variety of Styles you can choose from on Orion. You’re allowed to mix and match up to three styles. We suggest considering each style carefully and deduce, either via research or personal knowledge, if the intended style has historically produced the theme of the prompt as that helps ensure the ai art created is successful & up to your expectations.
Next, you’ll need to select the canvas size.
Finally, you’ll need to select the Runtime.
Aaaand that’s it! It is now time to bake by clicking the Create button.
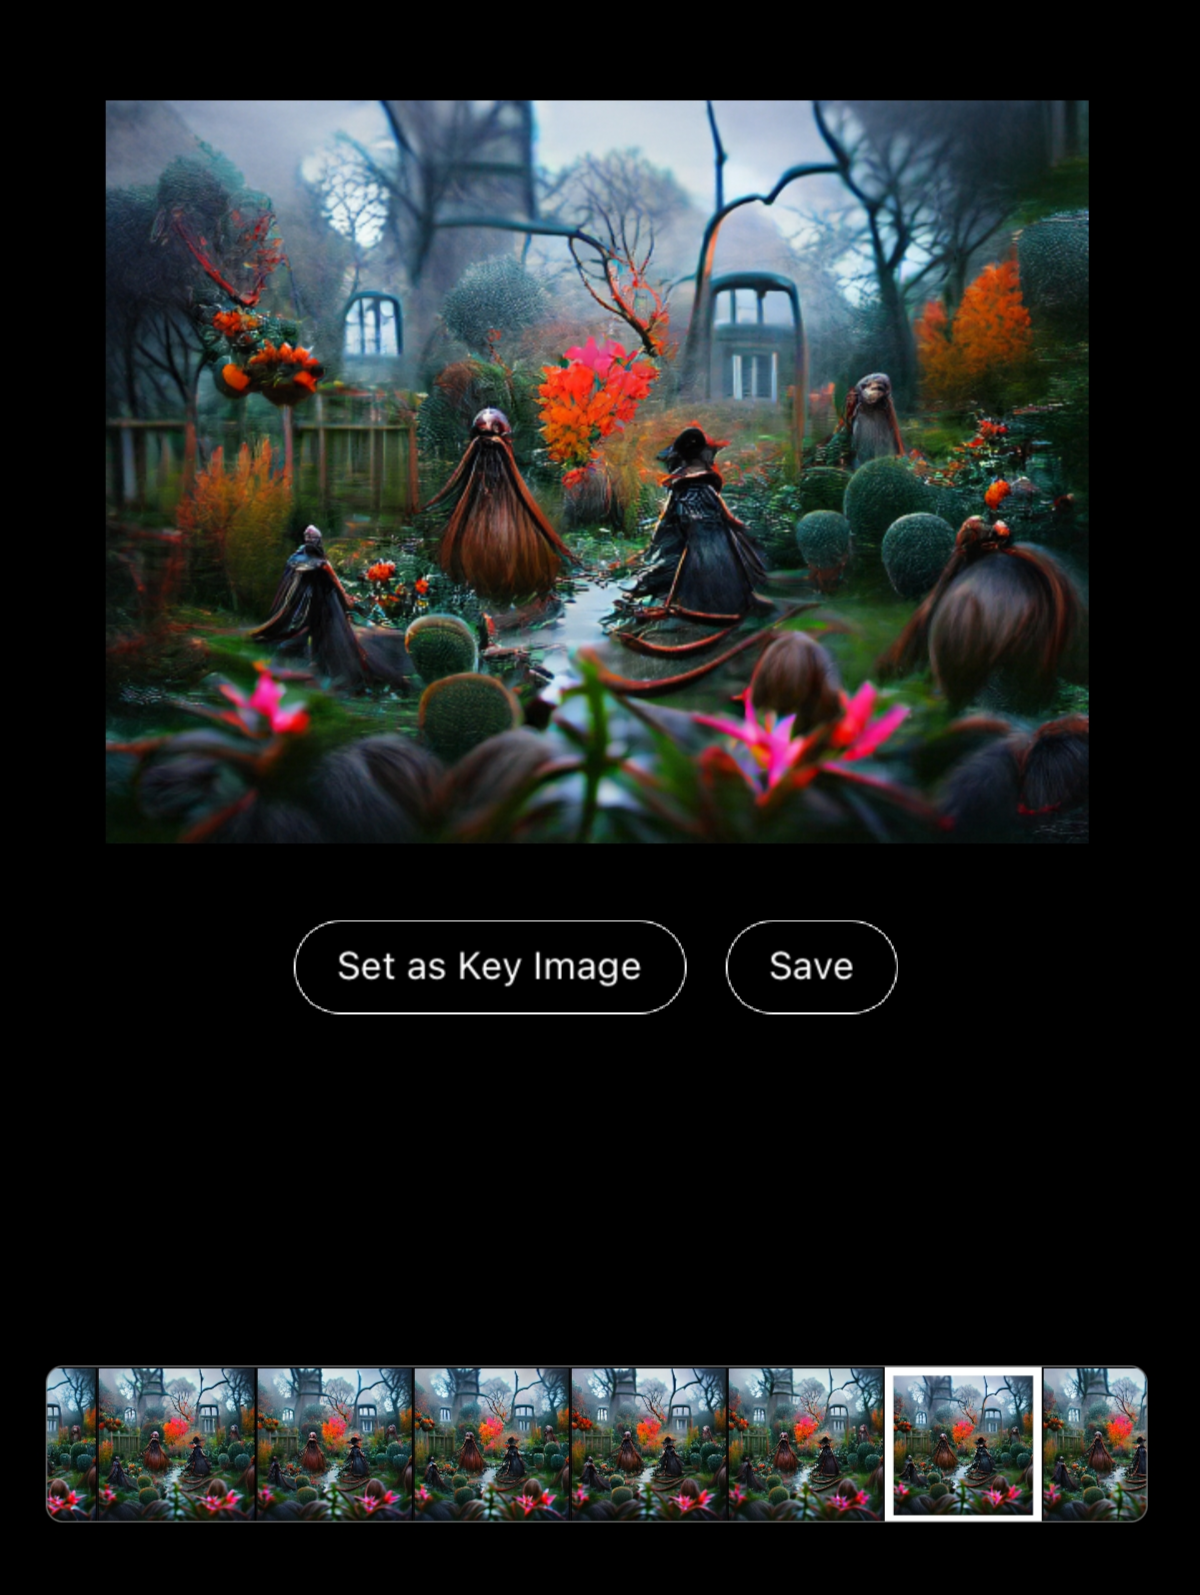
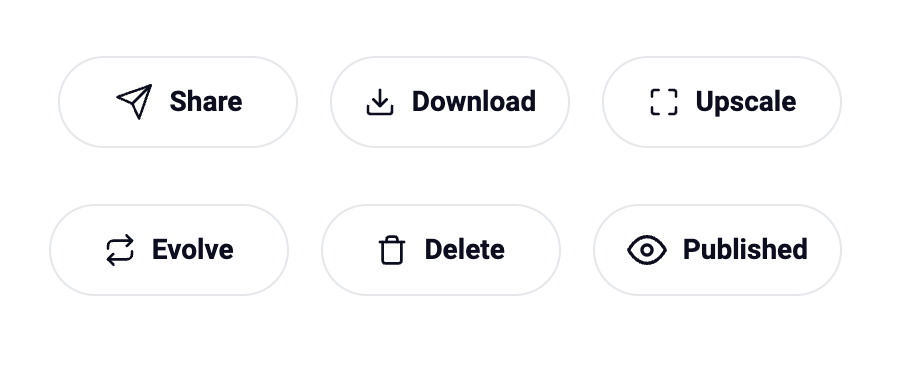
Once your ai art is rendered, you have a range of options to expand on your work:
If you’re looking for more Advanced practices & guides to guide you more elaborately through our AI art generator app, starryai, we suggest to explore our Recipe blog. You’re also invited to join us on Discord where we regularly come together to showcase our artwork, share our tips, tricks, prompts & settings and basically just have a rad time together!
The AI follows an algorithm that guides it to create artwork following pattern recognition and image analysis. We wrote a comprehensive guide on how AI create art
Yes! If the artwork generated did not use any assets that could infringe copyright laws, you own 100% of the rights to do with it however you please. For instance, you did not use any initial image for AI to generate the art or used an image that you own.