The first encounter a person has with a book is usually the book cover art. It offers valuable hints into what might be found inside the book and plays a key role in grabbing attention.
Books with impressive covers are more likely to be further explored by potential readers, both in-person and online. There are many factors that should be considered to create book cover art, and new technologies like artificial intelligence (AI) are making things even more unique and exciting.

There are a few important steps that you should take to create the best book cover art:
The first step you should follow to create book cover art is to understand the elements of a cover, or else it’s going to prove difficult to achieve the best design. Book covers consist of three main parts: the front cover, the back cover, and the spine that connects them both.
While a paperback book’s pages are glued together with a paper cover and cut to size, a hardback book’s pages are either sewn or glued into a case made of cardboard covered with cloth or paper. Those printed pages, or flaps, that you see when opening a hardback cover are called endpapers, and they provide an additional area for art.
It’s also important to remember we live in a digital age. E-books have become incredibly popular over the past few years, so you want to take that into account when creating book cover art.

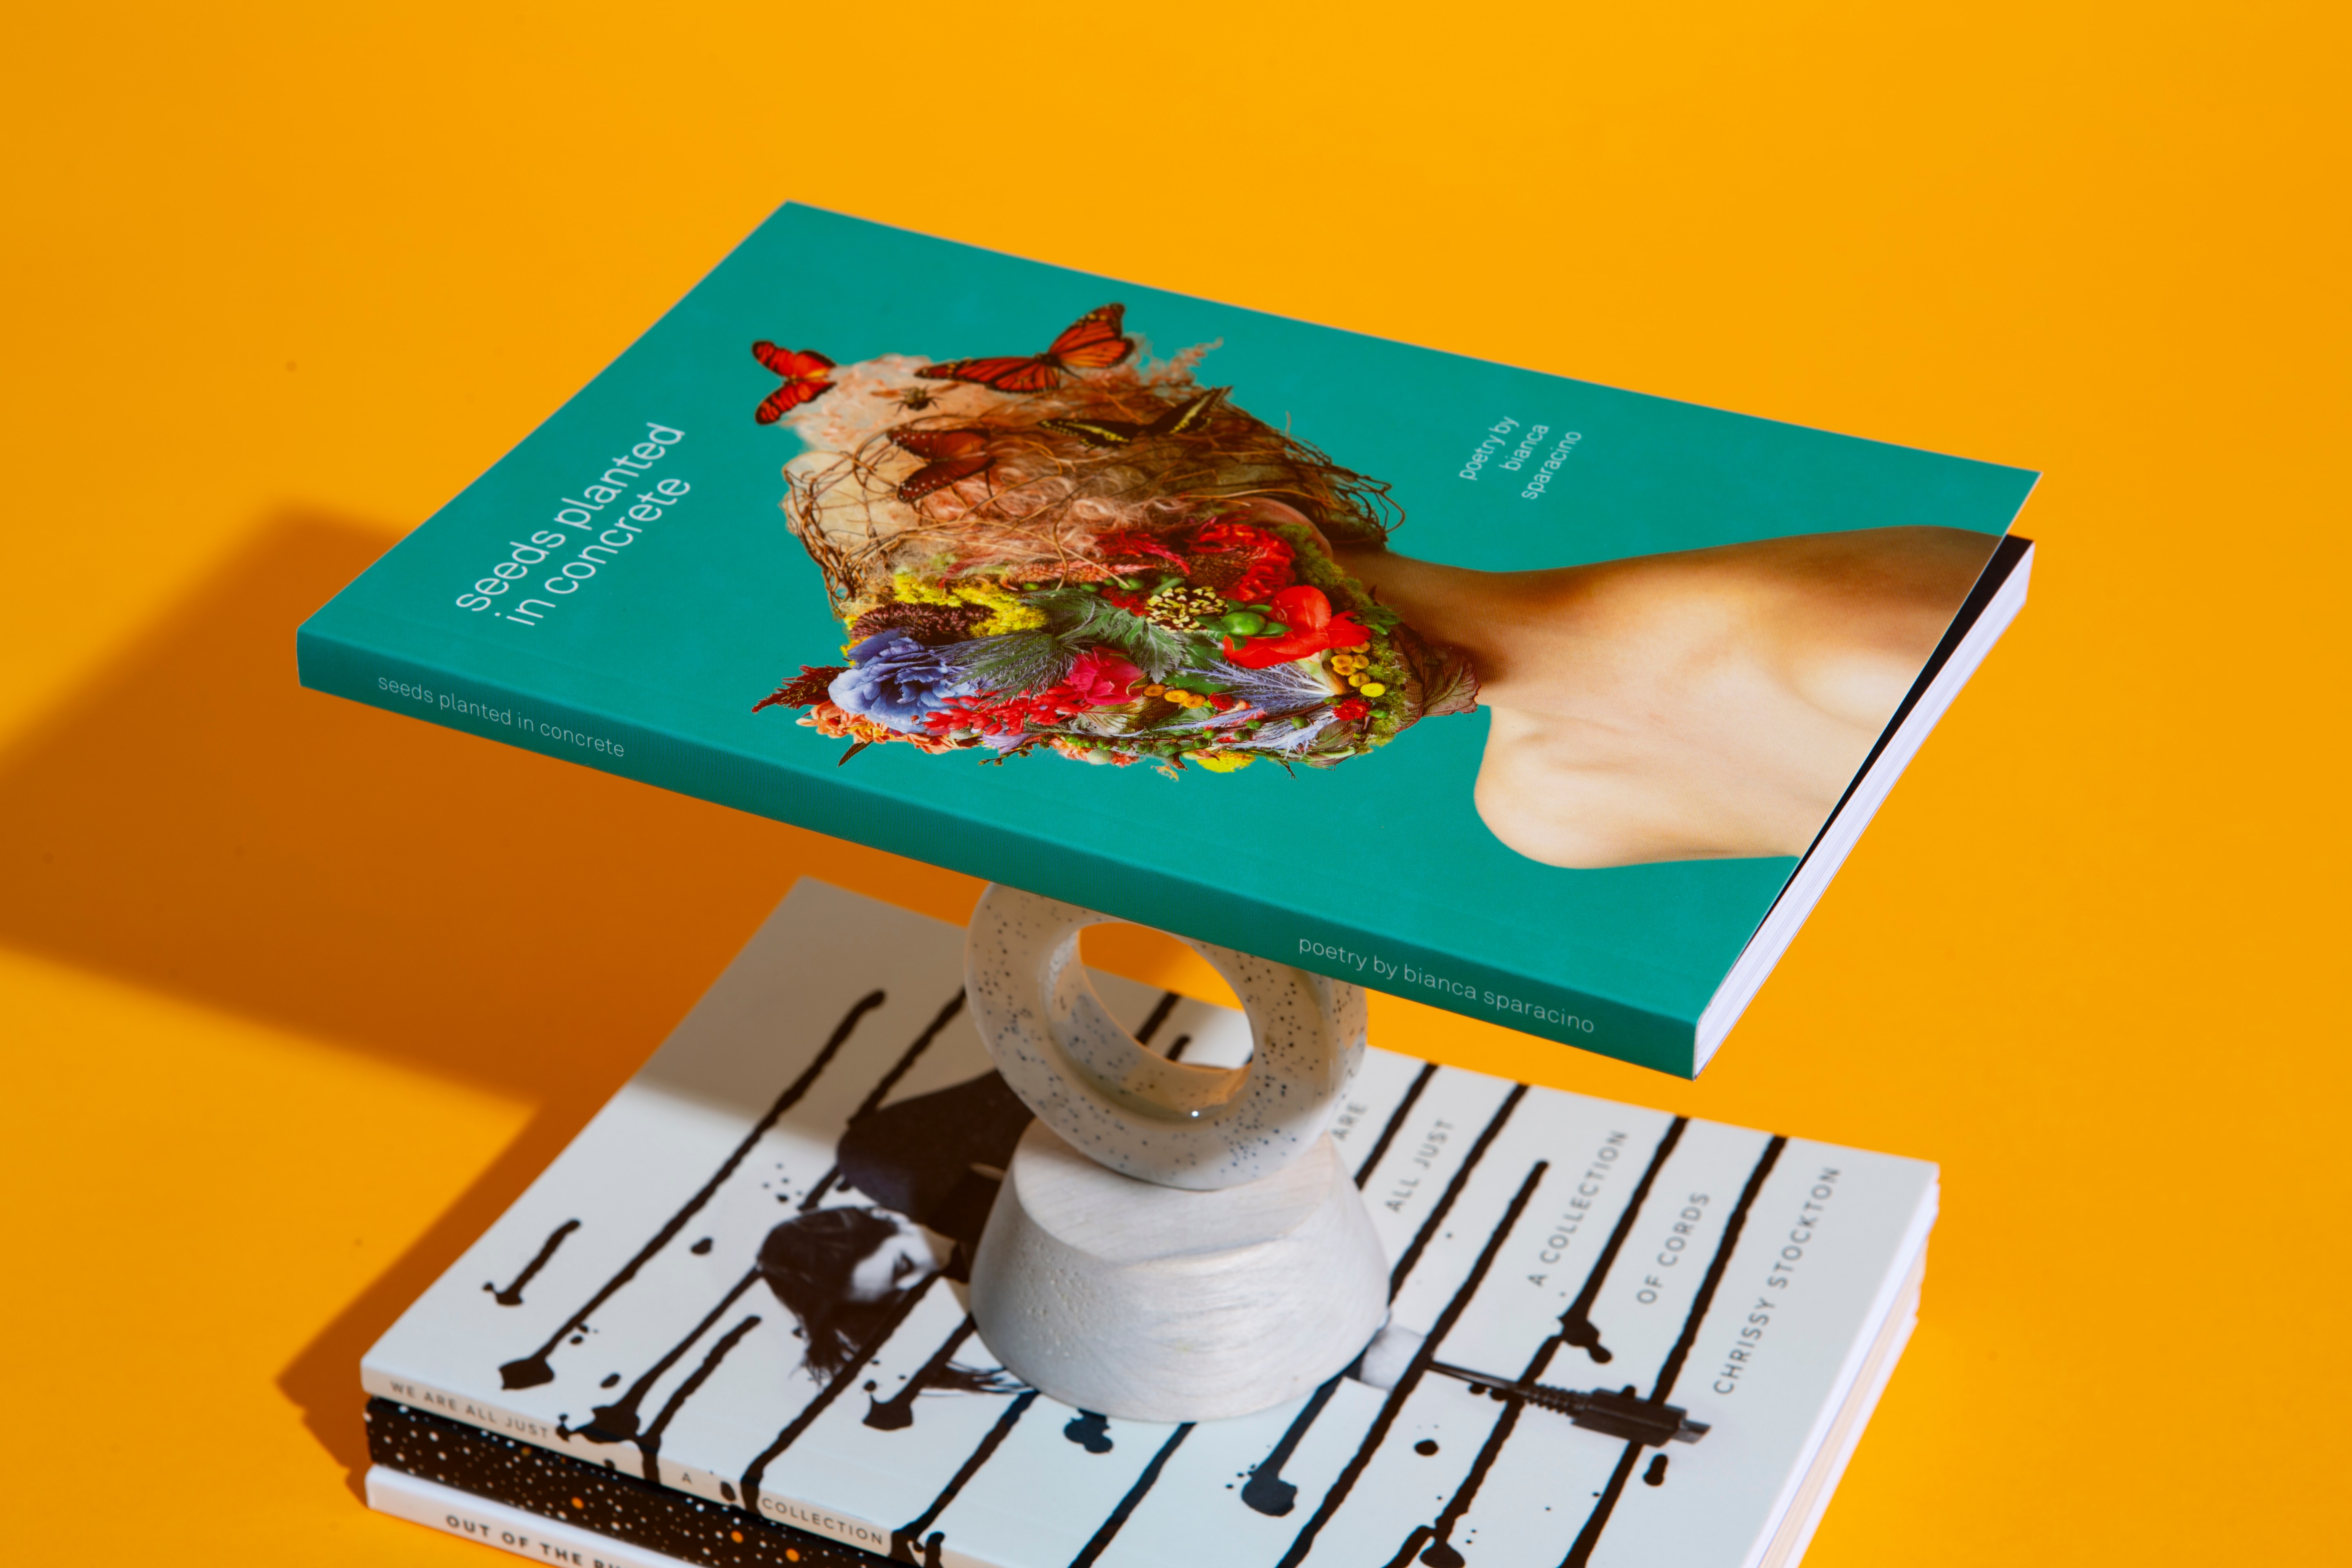
alt text: yellow book on yellow background
The next step to create book cover art is to choose your design direction, meaning you need to consider how the design will fit your vision of the book. You can do this by drawing inspiration from other books, such as those at a local bookstore or online. Keep a tally of what you like and don’t like, which will make it easier when designing your own.
Gathering visual inspiration will help guide your cover’s look and feel, and by looking at a range of covers, you will start to understand what works and what doesn’t. Once you’ve collected all of your ideas, with the recommended amount being 10-20 pieces of visual inspiration, you can create a moodboard to showcase them all. With this moodboard, you will begin to notice patterns of visuals, imagery, themes and layouts that can serve as inspiration.
When creating book cover art, it’s important to outline the book’s main themes. A book cover should always support the themes explored in the book. For example, a serious book will have a serious cover, while a fun book might have a lighter cover that shows a different aesthetic.
Make sure to write out all of your book’s main themes and continuously refer to them when coming up with your book design. While many artists create book cover art for their own works, others are doing it for a client. In this case, it’s not always necessary to read the entire book, but you should at least familiarize yourself with a synopsis and a few chapters. This will help you understand the mood and tone of the writing, which will play a key role in the design.

When designing book cover art, there are so many different graphic styles to chose from. There really is no wrong answer, but it is important to stay consistent and narrow down a style. This process can prove challenging, especially as book covers can feature a wide range of photographs, illiustrations and designs.
Consistency in appearance and style is key to the book’s brand, and consistency becomes even more important when talking about a series of books. If you are creating book cover art for multiple books in a series, you want readers to know just by looking that they belong to the same collection.
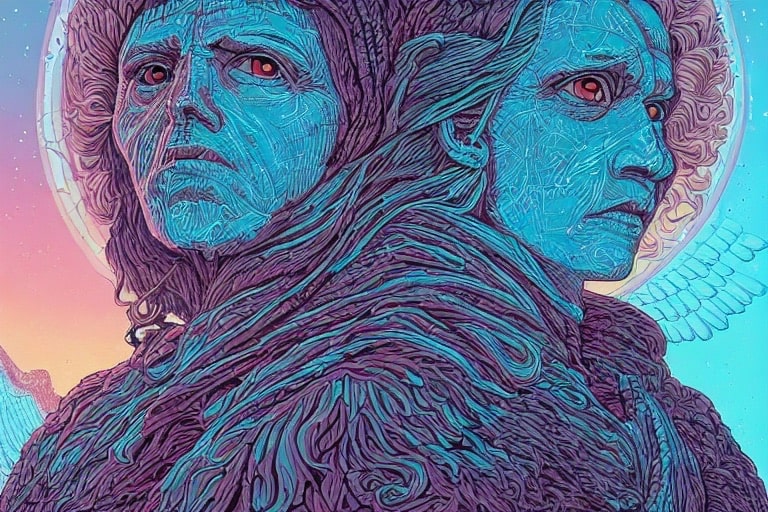
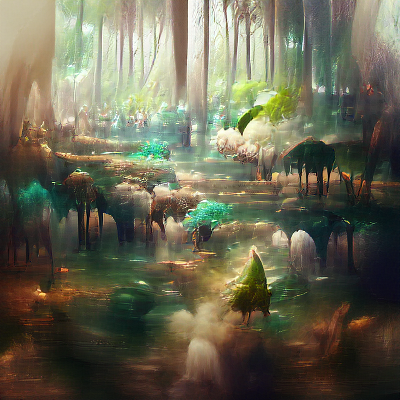
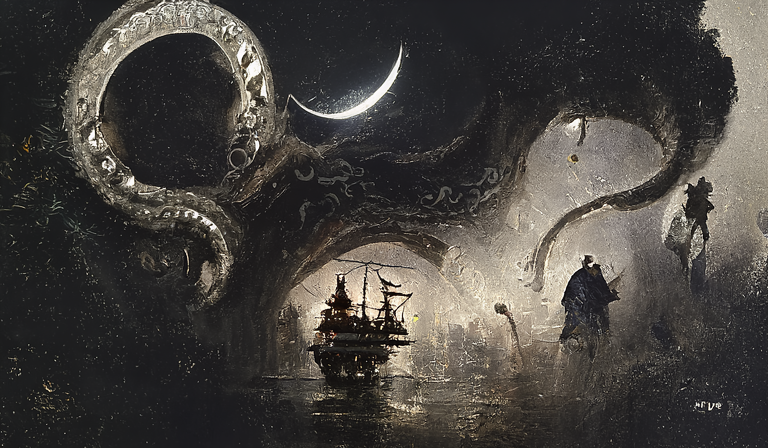
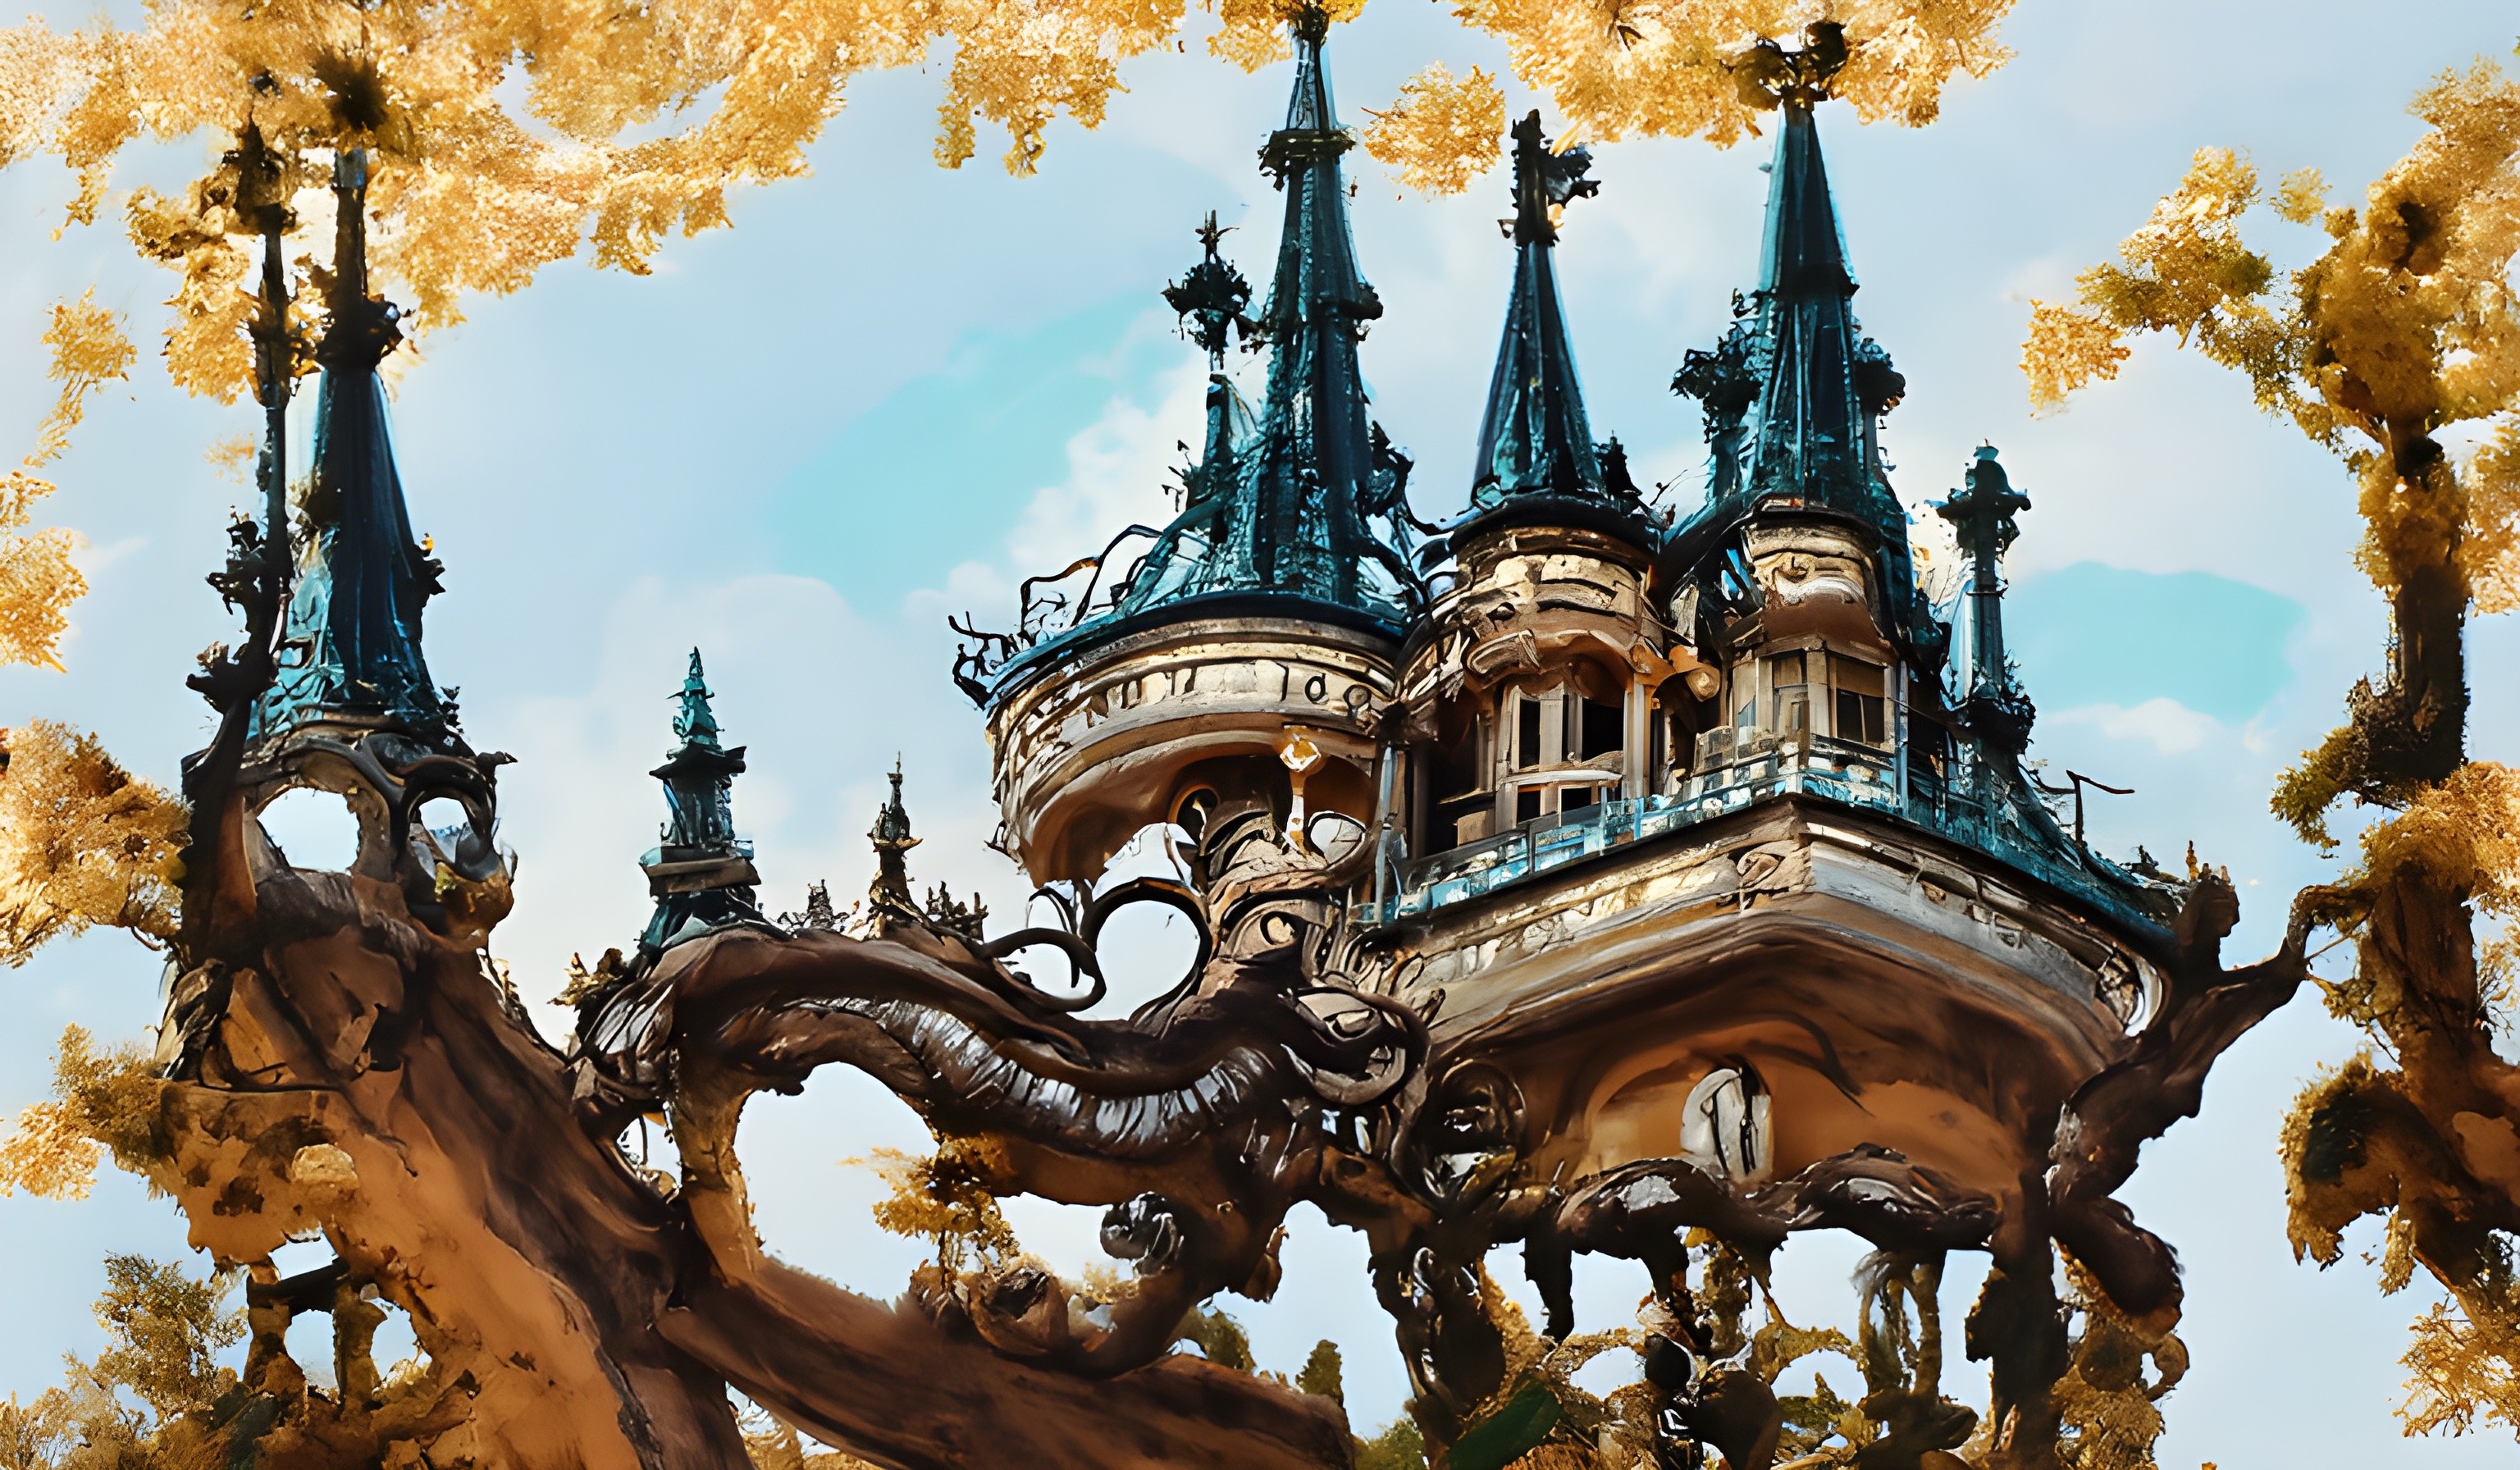
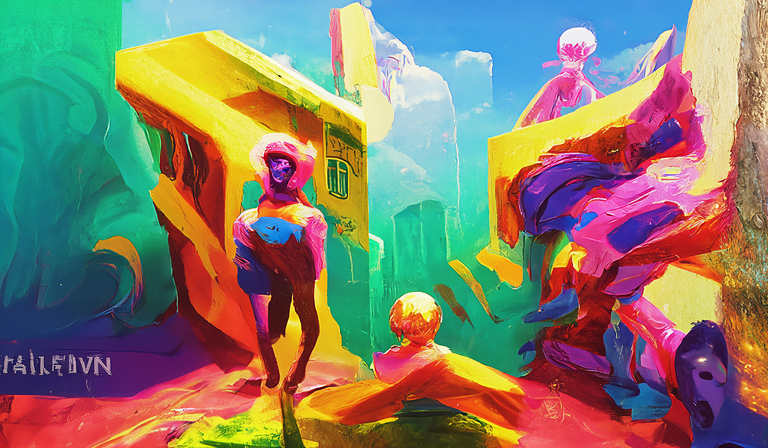
One of the most innovative and promising tools we have today for creating book cover art is AI art generators, such as starryai. It has never been easier to create various different designs in minutes. The opportunities are endless!
AI art generators allow anyone to become a designer, which is important if you are new to book cover art. By putting your visions and thoughts into text format, you can use state-of-the-art technology to create various potential designs for the book cover. At the same time, you can take what works and keep tweaking it to achieve the best cover.
The last step to create book cover art is to focus on the back. Oftentimes designers and authors put most of their attention on the front of the book, which leads to a less-than-ideal design for the back. The same holds true for the spine of the book, especially if you are designing a physical book cover.
Spines are especially important when readers browse bookstores as most books are arranged showing only their spine. It is the first encounter a potential reader has with the book.
A good rule of thumb is to continue the basic background design around the entire cover, which ensures the spine and back cover are consistent with the front. All of this achieves a consistent and professional cover from front to back.
If you follow these steps, you will put yourself on the path to creating the best book cover art. And with new design technologies like starryai’s art generator, we are heading toward a world full of incredibly unique and never-before seen artistic works.


.png)


.png)
.png)